📸How to Position Cameras for Better Facial Identification

TLDR
- Mount cameras lower than most people think: Around 7 to 9 feet high usually captures faces far better than roofline installations.
- Avoid steep downward angles: A gentle downward tilt works best because extreme top-down views mostly capture hats and hair.
- Prioritize choke points: Entrances, gates, walkways, and narrow paths naturally improve facial capture.
- Do not go ultra-wide everywhere: Wide coverage is nice, but zoomed-in identification zones produce clearer facial detail.
- Lighting matters almost as much as placement: Even a perfectly positioned camera struggles if faces are backlit, shadowed, or poorly illuminated.
You can buy a great security camera, spend an afternoon mounting it, feel pretty proud of yourself, and still end up with footage that shows nothing more than the top of someone’s hoodie. It happens a lot. One of the biggest misconceptions in home security is that more cameras automatically equal better security.
In reality, poor hardware positioning can make an expensive setup surprisingly useless when you actually need identifying footage.
If your goal is facial identification, proper lens alignment matters far more than raw megapixels in real-world scenarios. A camera mounted too high, aimed too wide, or placed in bad lighting often records movement just fine but struggles to capture usable details of a person’s face.
When starting a DIY security setup, understanding the spatial mechanics of your property is essential. The good news is that you usually do not need more gear; you just need smarter placement.
🎯 Start With the Goal: Identification, Not Just Detection
Before drilling holes into your walls, it helps to think about what you want the camera to accomplish. There is a massive operational difference between simply knowing an object moved and collecting evidence that can be handed over to local law enforcement. When implementing a layered home security framework, you must define the purpose of every lens you deploy.
For facial identification, the person’s face needs enough visible detail to be genuinely useful. That sounds obvious, but plenty of residential installations are positioned for general awareness instead of identification.
A camera mounted high under the roofline might show your driveway beautifully, but if someone walks through wearing a baseball cap, you may only capture the top of their head.
| Security Layer Goal | Visual Capability | System Role |
| Detection | Someone was here | Triggers motion sensors or lighting |
| Recognition | I think I know who that is | General context and timeline tracking |
| Identification | That is clearly this person | Crisp facial features and forensic evidence |
To successfully achieve forensic-level clarity, you must study the optimal camera placement for facial recognition protocols. This ensures that the technical specifications of your camera match the geometry of the physical space it is monitoring.
📏 Camera Height: Lower Usually Wins
This is where many DIY installations go sideways. There is a strong temptation to mount cameras as high as possible because it feels safer and harder for a vandal to reach. While that logic makes sense on the surface, higher mounting points create a steep downward angle, which is completely counterproductive for capturing facial features.
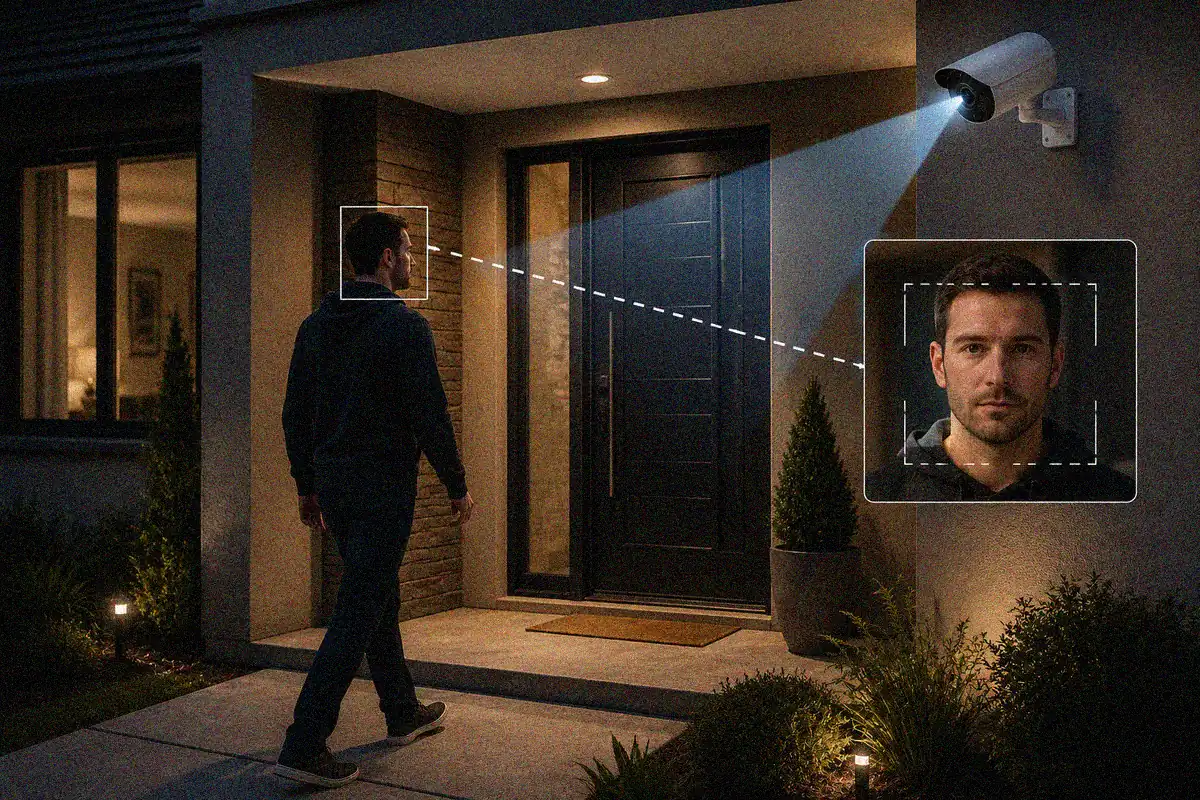
For most residential setups focused on facial identification, a specific camera height for face identification of roughly 7 to 9 feet tends to strike the best balance. This keeps the camera out of arm’s reach while keeping the lens low enough to look directly under the brim of a hat or the edge of a hoodie.
Why the 7 to 9 Foot Window Works
- Anti-Tampering: High enough to discourage casual vandalism or manual masking.
- Feature Trapping: Low enough to capture eyes, noses, jawlines, and distinct facial marks.
- Sensor Accuracy: Provides a better angle for integrated PIR motion sensors to track movement across the field.
- Ecosystem Balance: Integrates smoothly into a minimalist home security setup without requiring custom commercial brackets.
If you proudly mount your cameras on second-story soffits, you run the risk of experiencing common DIY home security failures. Every visitor will end up looking like a blurry triangle wearing sneakers. Keep your hardware low, focused, and level with the targets you want to track.
📐 Angle Matters More Than You Think
A camera can be at the perfect height and still miss useful details if the tilt is wrong. For true forensic quality, you want people to appear as close to face-on as possible. According to international standards published in NIST facial biometrics studies, horizontal alignment deviation should be kept to an absolute minimum for algorithmic or human verification to work properly.
The best angle for security cameras is a gentle downward tilt, not a dramatic bird’s-eye view. If the camera is pointed sharply downward, you will mostly record foreheads and shoulders. That footage might tell you someone arrived at 2:14 AM, but it won’t help you figure out who they are.
Angle Audit Checklist
- Ensure the camera has a slight downward tilt of no more than 15 to 20 degrees.
- Establish a face-level perspective along the primary approach path.
- Capture movement directly toward the camera lens rather than side-to-side panning.
- Avoid placing cameras directly above entry doors where they only see the tops of heads.
Putting a camera directly over a front door sounds logical, but it produces poor results. Instead, position the camera slightly offset from the door or facing the entrance from several feet away. You want visitors naturally looking toward the lens as they walk up to press the doorbell or check a package.
🚪 Focus on Choke Points
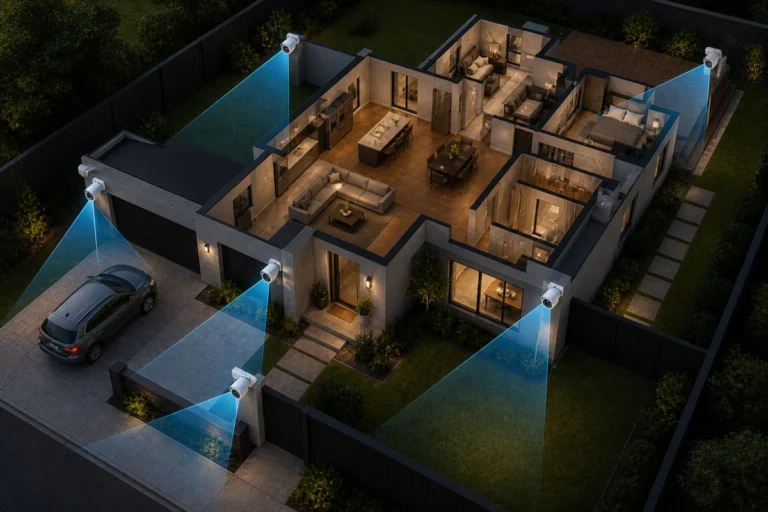
One of the easiest ways to improve face detection security cameras‘ performance is by thinking less about covering every square inch of your lawn and more about controlling where faces appear. You are looking for natural bottlenecks where a person has no choice but to walk through a narrow path.
When people are forced to pass through predictable paths, your camera has a much better chance of capturing a stable, front-facing image. This is a highly efficient strategy when you are designing a home security system on a budget, as it reduces the total number of devices you need to buy.
High-Priority Choke Points
- Front doors and main entry porches.
- Back doors and basement walkouts.
- Side walkways and pedestrian gates.
- Driveway paths and narrow landscaping gaps.
- Stairwells and tight apartment hallways.
By focusing your pixels on these tight zones, you significantly reduce the required distance for camera recognition. A wide-angle driveway lens can show a vehicle arriving, but a second, narrower camera positioned closer to the front path is what actually captures the clean facial shot. This clever pairing is a prime example of how to build redundancy into your setup effectively.
🌙 Night Footage Changes Everything
Daytime footage is incredibly forgiving because ambient light fills in shadows naturally. Night footage is where cheap hardware and poor placement are instantly exposed. Poor lighting is one of the single biggest reasons facial identification falls apart in real-world investigations.
At night, cameras need enough light to preserve crisp facial details while reducing motion blur caused by slow electronic shutters. To learn how to capture faces on security cameras after dark, you must pay attention to how your infrared or white light interact with ambient property features.
[Bad Placement: Backlit Entry] --> [Camera Blinded by Light background] --> Silhouette[Good Placement: Frontlit Entry] --> [Porch Light Illuminates Face] --> Clear IDTo optimize your nighttime results, review your outdoor motion lighting setup to ensure your illumination sources are working with your cameras, not against them. Avoid aiming lenses directly into streetlights or bright fixtures, as the camera will automatically compensate for the brightness, turning human faces into dark, unidentifiable silhouettes.
🔍 Don’t Let Wide Angles Fool You
Wide-angle lenses are popular because they make you feel like you are seeing your whole property at once. But from a physics perspective, there is a massive tradeoff: your camera’s resolution is spread thin across a massive field of view. If a human face only occupies 2% of your total screen real estate, no amount of digital zooming will bring back the lost clarity.
When positioning cameras for clear footage, you must evaluate pixel density. If you are using wireless security systems, streaming massive uncompressed 4K video streams can also crush your bandwidth. Instead of buying an ultra-wide lens and hoping for the best, crop your target zone physically by moving the camera closer or using a telephoto lens variation.
Placement Evaluation Scan
- Can you clearly see a person’s eyes in the daytime footage?
- Does the target naturally look toward the lens configuration?
- Is your Wi-Fi network properly optimized to handle the camera’s data throughput without dropping frames?
- Are you storing the footage using a high-quality local or cloud system that doesn’t compress the image into oblivion?
🧪 Test Before You Commit
This might be the least glamorous advice in home defense, but it saves hours of frustration. Never screw a camera bracket permanently into concrete or wood without conducting a live walk-test first.
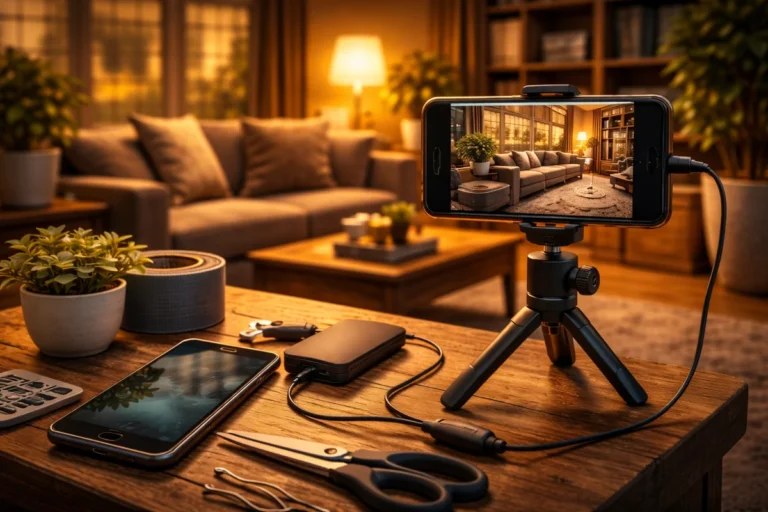
Temporarily secure the hardware using tape, zip-ties, or a ladder while viewing the live feed on your mobile device. For specific tech hardware examples, you can look at the Omada camera mounting guidelines to see how temporary testing parameters are established before completing structural wiring. Have a friend walk your paths naturally at different speeds during both midday and midnight hours.
What to Look For During Testing
- Glare: Watch for blinding sun reflections off nearby windows or cars.
- Shadows: Check if nearby tree branches cast moving shadows that trigger false alerts.
- Obstructions: Ensure open garage doors or hanging plants don’t block the lens path.
- Compression Glitches: Confirm the video stays sharp when a person is moving quickly across the frame.
Sometimes, moving a camera just two feet lower or sliding it a few inches to the left can completely eliminate a blind spot. It is a tiny adjustment that saves you from realizing your expensive camera only records the brims of baseball hats.
🏁 Conclusion: Think Like a Camera, Not an Installer
Achieving high-quality facial identification requires a simple shift in your daily thinking. Stop asking yourself where the easiest place to mount the chassis is. Instead, ask where an intruder’s face will naturally appear when they are trying to figure out what makes your home easy to break into.
Lower mounting heights, gentler downward angles, targeted choke-point monitoring, and rigorous night testing will consistently outperform a poorly planned, expensive network of cameras. You don’t need a complicated commercial layout; you just need to match your hardware to the natural movements of your property.
By treating your cameras as an integrated element alongside your door reinforcements and occupancy simulators, you create a secure perimeter that captures usable, high-fidelity evidence whenever it is called upon.