🔐Smart Lock Installation Mistakes to Avoid

TLDR
- Smart lock installation mistakes can weaken your entire home security setup.
- Most failures come from fit issues, poor calibration, or skipped setup steps.
- Wi-Fi and Bluetooth configuration errors often cause connectivity problems.
- Battery management and firmware updates are commonly overlooked but critical.
- Proper testing and alignment are essential for reliable daily use.
Smart locks feel like one of those upgrades that should be simple: swap the hardware, connect an app, and you are done. In reality, the installation stage is where most problems quietly begin, even with the best budget home alarm systems. A surprising number of issues do not come from the lock itself but from small oversights during setup.
Once these common smart lock installation errors are baked in, you start seeing glitches that feel like bad tech when it is actually just installation detail gone wrong. If you are designing a home security system on a budget, getting the installation right the first time is the best way to save money and frustration.
Let’s go through the most common pitfalls so you can avoid them from the start and get a smooth, reliable setup.
🚪 1. Ignoring Door Alignment Before Installation
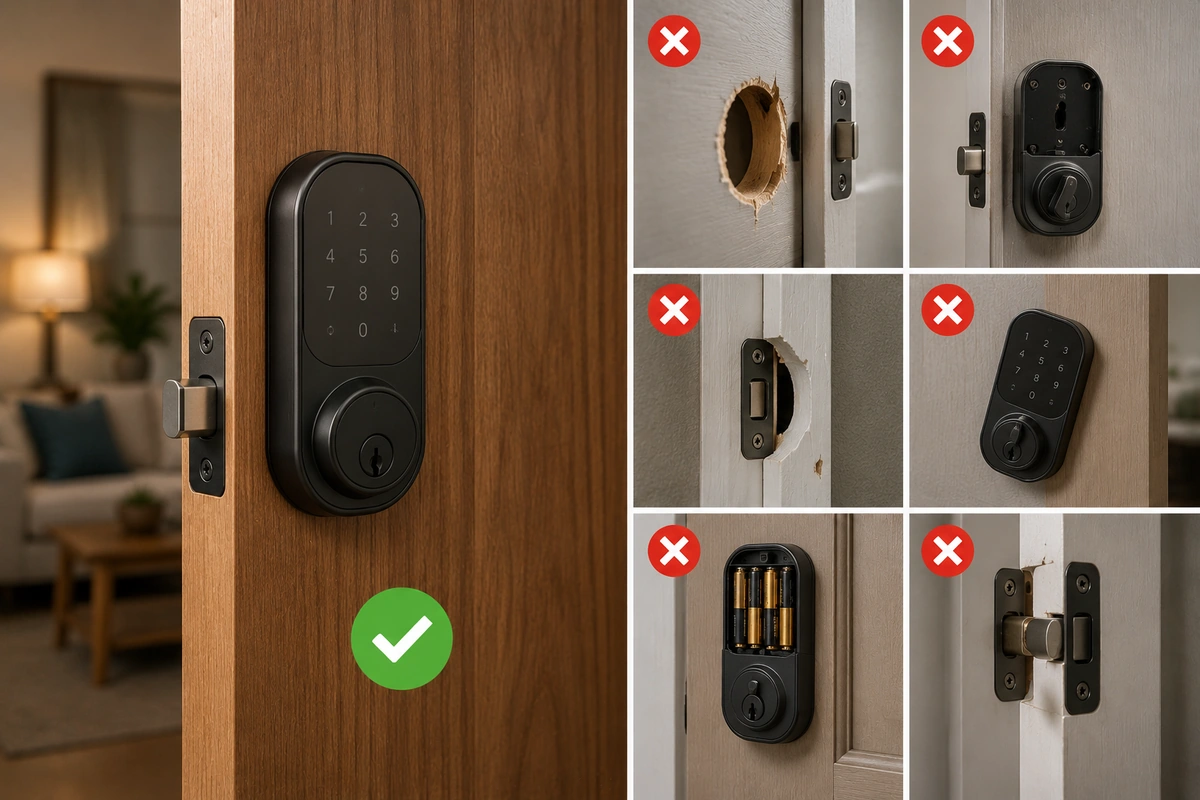
One of the most frequent smart lock installation mistakes is installing hardware on a door that already has alignment problems. If your deadbolt does not slide smoothly by hand, a smart motor will only amplify that friction.
Many people assume the motor will force the bolt into place. It will not. It will struggle, cause battery issues smart locks are notorious for, and sometimes fail to lock or unlock consistently.
Before you even start installing smart lock tips and hardware, perform a manual test. Close the door slowly and turn the deadbolt. If you feel any resistance, you must fix the strike plate or hinges first. This is a critical step in what diy home security actually protects against.
| Alignment Check | Goal |
| Bolt Movement | Should slide with zero friction or force |
| Door Sag | Door should not rub against the frame or threshold |
| Strike Plate | Must align naturally with the bolt’s center |
| Physical Effort | No need to lift or push the door to engage the lock |
🔧 2. Skipping the Calibration Step
Most smart locks need a digital calibration after the physical install. This is how to install smart lock correctly so the device learns the exact range of motion for locking and unlocking. Skipping this step leads to misreads where the lock thinks it is fully engaged when it is actually resting against the frame.
You might notice symptoms like repeated motor clicking or inconsistent behavior with your smart locks vs traditional locks. It is tempting to just “get it working” and move on, but calibration is where reliability is actually established. Take the extra minute to ensure your wireless security system knows its limits.
📶 3. Weak Wi-Fi Placement or Wrong Network Setup
Connectivity issues are a major source of frustration. Many smart locks rely on either Bluetooth range or Wi-Fi bridges, and both are sensitive to placement. If your router is far from the door or separated by thick walls, signal drops are almost guaranteed. This is a common diy home security failure that leads to laggy app performance.
Check your signal strength at the door before final setup. Just like optimizing wi-fi for security devices like cameras, your lock needs a stable path. If you are an expat or traveler, remember that digital privacy and vpn use are part of the broader digital security picture, but your local network stability is what keeps the physical lock responsive.
🔋 4. Underestimating Battery Behavior
Smart locks are designed to be efficient, but battery issues still catch people off guard. The most common mistake is assuming batteries will last a full year without checking usage conditions. Heavy app interaction, poor alignment, or a weak signal will cause battery issues smart locks owners hate.
To avoid smart lock problems, never mix old and new batteries. Use high-quality lithium or alkaline sets as recommended by the manufacturer. If you ignore low-battery alerts, you might find yourself needing a manual key override at the worst possible time.
| Battery Best Practices | Reason |
| Replace all at once | Prevents uneven power draw and sensor failure |
| Use high-quality sets | Essential for fail-safe planning |
| Address alerts immediately | Prevents being locked out during a total drain |
⚙️ 5. Not Updating Firmware After Setup
It is easy to skip updates after installation because everything feels done. However, firmware updates often fix connectivity stability and security vulnerabilities. Manufacturers release these patches to avoid smart lock problems discovered after the hardware hit the shelves. This is a key part of how to upgrade a diy system over time without spending more money.
🧪 6. Failing to Test All Entry Scenarios
A lot of users test the lock once: unlock, lock, done. But real use is more complicated. You should perform a thorough smart lock troubleshooting setup by testing different scenarios. This helps you catch edge cases before they happen in real life.
- App Control: Does it lock and unlock consistently via the app?
- Manual Override: Does the physical key still work smoothly?
- Auto-Lock Timing: Does the door lock itself after the specified duration?
- Network Failure: Can you still get in if your Wi-Fi goes down?
🔐 7. Overcomplicating the Feature Set
Modern smart locks come packed with geofencing, auto-unlock, and integrations with voice assistants. The mistake is enabling everything at once before understanding baseline behavior. This can lead to unpredictable locking patterns. A cleaner approach is to start with basic functions and add layers slowly, which is the core of a layered home security framework.
🏁 Conclusion
Installing a smart lock is not difficult, but it is detail-sensitive. Most smart lock installation mistakes do not come from the technology itself; they come from skipping small setup steps that feel unimportant in the moment.
Whether you are securing an apartment or reinforcing your front door, treat the installation as a full system setup rather than a quick hardware swap. In my experience, the smoothest setups are never the most advanced ones: they are just the ones where alignment, calibration, and testing were taken seriously from the start.