🛡️ DIY Home Security: Where to Start?
TLDR:
- DIY home security is built on a Layered Defense strategy: physical barriers, visibility, detection, and network hardening.
- Start with a 15-minute “Risk Check” to identify low-hanging fruit like unlocked windows or dark entry points.
- Physical locks and long-screw strike plates are the most cost-effective “easy wins” for stopping intruders.
- Modern DIY systems offer flexibility between self-monitoring and professional services, allowing you to scale as needed.
- Securing your digital footprint is just as important as locking your front door; your Wi-Fi is the backbone of your security.
You want your home to feel safe, not complicated. That’s the core philosophy behind Modern Home Defense: practical, layered security that you can install and maintain yourself. If you’re tired of “security theater” and want to stop guessing where to begin, you’re in the right place.
Building a security system isn’t about buying the most expensive camera package on the market. It’s about creating an environment that is difficult, loud, and risky for anyone who shouldn’t be there. Below, we walk through a clear, step-by-step approach that prioritizes high-impact, low-cost moves first, then shows how to scale up sensibly.
🕵️♂️ Step 1: Perform a Quick, Honest Risk Check
Before buying cameras or signing up for monitoring, take a 20-minute walkaround of your property, both outside and inside. You need to view your home through the eyes of someone looking for an opportunity.
What to look for during your audit:
- Blind Spots: Overgrown shrubs or fences that allow someone to work on a door or window without being seen from the street.
- Low-Hanging Fruit: Unlocked back doors, windows with broken latches, or sliding doors that can be lifted out of their tracks.
- Lighting Gaps: Dark corners around the side of the house where someone could hide.
- The “Vacant” Look: Mail piling up or packages left on the porch for days.
Make a short list of these weak spots. This inventory tells you exactly where your first $50 should go. In many cases, assessing your home like a burglar would is the most valuable security task you can perform.
🔒 Step 2: Lock Down the “Easy Wins” First
Locks are the foundation of everything else. If your physical barriers are weak, a $500 camera is just a device that records someone walking into your house.
Replace standard key-in-the-knob locks with solid deadbolts on every exterior door. To make them truly effective, ensure the strike plate is secured with 3-inch screws that reach all the way into the door framing. Most stock screws are only 3/4 of an inch, one solid kick will rip them right out of the wood.
Essential Physical Fixes:
- Sliding Doors: Use a hefty rod or a dedicated track lock. These doors are notoriously easy to pop open from the outside without a secondary lock.
- Window Security: If you have older windows, secondary pin locks or even simple wooden dowels in the tracks can prevent them from being forced.
- Garage Entry: The door between your garage and your house should be treated like an exterior door. It needs a deadbolt and a reinforced frame.
These aren’t “smart” or glamorous fixes, but they stop the majority of common, low-effort break-ins before they even start.
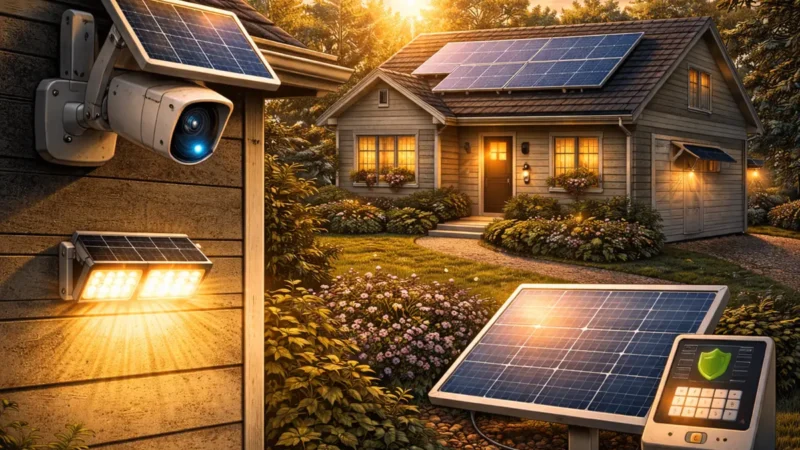
💡 Step 3: Lighting and Visibility
Light is the enemy of an intruder. Motion-activated exterior lights and smart landscaping change the “risk calculus” for a burglar. If they are visible from the street, they are much less likely to stick around.
Illuminating entries, walkways, and potential hiding spots increases the chance of being seen by neighbors or passersby. If you travel or work long hours, put a few interior lights on smart timers so the home looks occupied. It’s an old trick, but it remains highly effective.
For those living in tighter spaces, check out the best DIY security setups for apartments to see how to handle lighting and visibility without violating a lease.
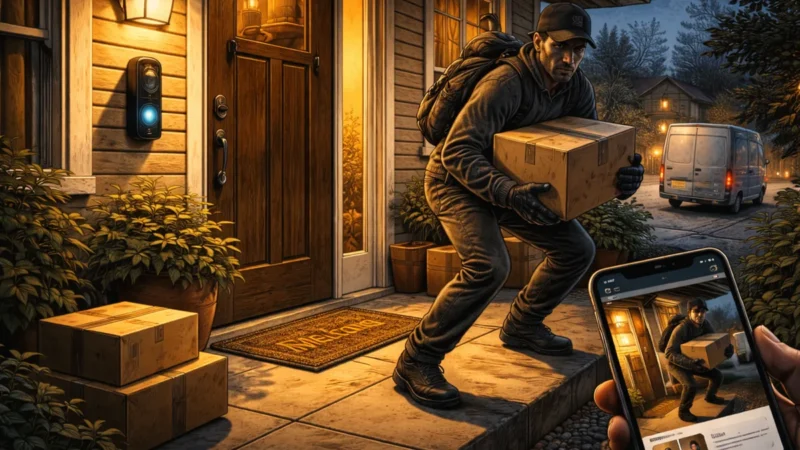
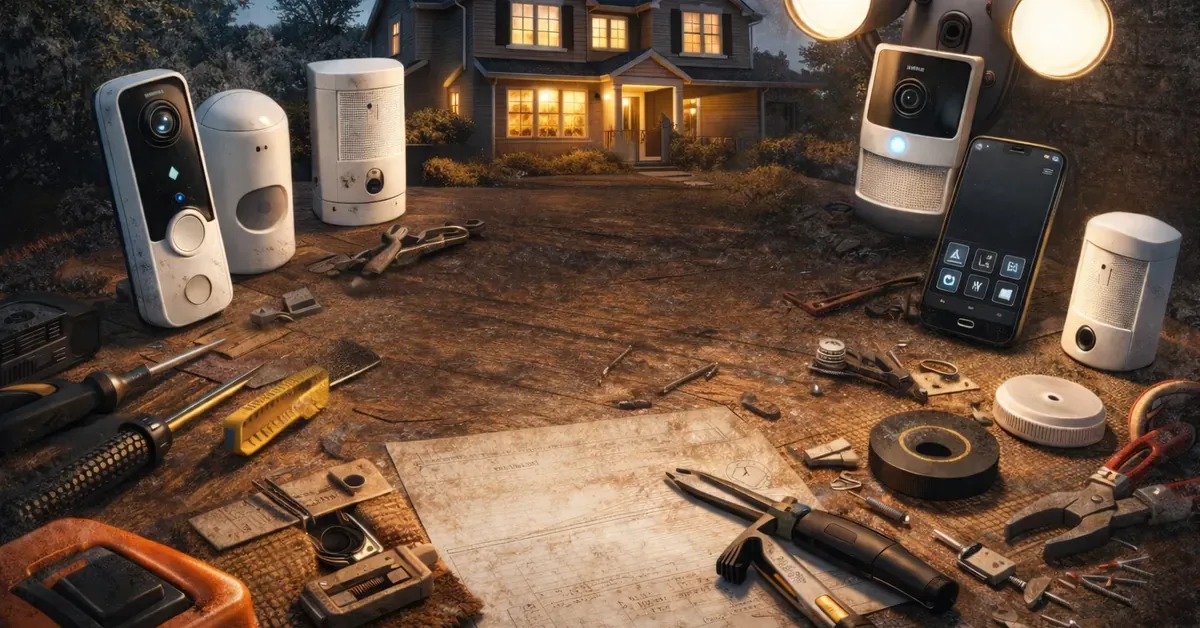
📹 Step 4: Choose Cameras and Alarms That Fit Your Life
Once your physical locks and lights are in place, it’s time to move into detection. You need to decide what you want your tech to do. Are you looking for a deterrent, or do you want evidence after the fact?
The Three Main Approaches:
- Self-Monitored Systems: You get alerts on your phone and decide whether to call the police. These are the most budget-friendly. Consumer Reports notes that modern DIY brands have significantly closed the gap in reliability compared to legacy pro systems.
- Cloud-Based with Subscriptions: These offer features like person detection (ignoring your dog) and cloud backup. This is crucial if a thief decides to steal the camera itself.
- Professional Monitoring: A central service monitors your home 24/7. It costs more per month but ensures someone is watching even when your phone is on “Do Not Disturb.”
If you are trying to decide which route is right for you, comparing DIY home security vs professional monitoring is your next logical step.
Don’t Forget Sensors
Cameras are great, but door and window sensors are the workhorses of a DIY system. They are inexpensive, the batteries last for years, and they trigger an immediate alarm the moment a perimeter is breached. A loud local siren is often more effective at scaring off a burglar than a silent camera recording.
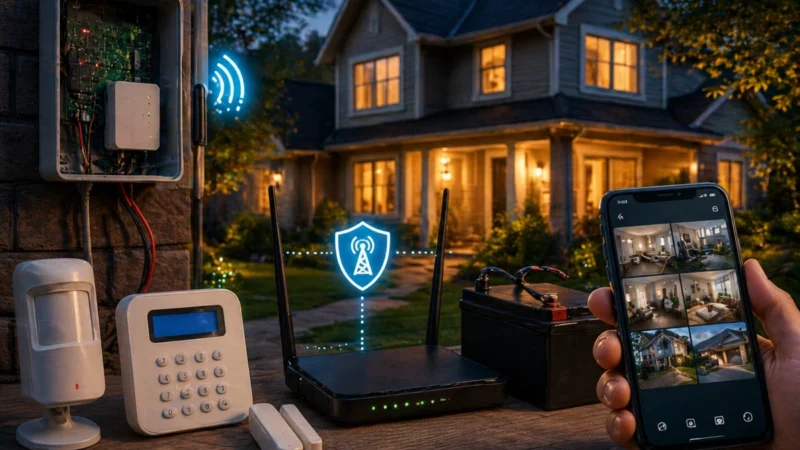
🌐 Step 5: Lock Down the Network That Runs Your Devices
Your smart cameras, sensors, and doorbells all ride on your home Wi-Fi. If your network is weak, your security is an open door. Securing the digital side of your home is just as critical as the physical side.
Network Hardening Basics:
- Change Defaults: Never use the admin password that came with your router or cameras.
- Segment Your Network: Put your IoT devices (cameras, smart lights) on a separate “Guest” network. This prevents a hacked camera from giving someone access to your laptop or banking info.
- Enable WPA3/WPA2: Use the strongest encryption your devices support.
- Firmware Updates: Set your devices to auto-update. Many updates are “security patches” that fix known vulnerabilities.
These steps follow standard CISA cybersecurity guidance and are the best way to ensure your security system isn’t being used against you.
🔋 Step 6: Power, Storage, and Redundancy
A security system is useless if the power goes out. If you live in an area with an unstable grid, look into backup power solutions for home security systems. A simple Uninterruptible Power Supply (UPS) for your router and security hub ensures your system stays online during a storm or a deliberate power cut.
Regarding storage, you have to choose between Local (SD cards) and Cloud (Subscription). Local storage keeps your data in your hands and has no monthly fees, but if the camera is stolen, the footage goes with it. Cloud storage is safer for evidence but adds to your monthly overhead.
⚖️ Step 7: Privacy and Legal Basics
Recording video comes with responsibilities. Generally, you have a right to record your own property, but you should never point cameras into areas where people have a reasonable expectation of privacy, like a neighbor’s window or a bathroom.
If you use cameras that record audio, check your local laws. Some jurisdictions require “all-party consent” for audio recording, which is why many DIYers choose to keep audio disabled. When in doubt, post a visible sign stating that security cameras are in use.
🛠️ Practical Installation Tips
- Height Matters: Mount cameras 8–10 feet high. This is high enough to be out of reach but low enough to get a clear look at faces.
- Angle the Doorbell: Face your doorbell camera slightly downward. You want to see the porch floor to track packages, not just the tops of people’s heads.
- Test Your Sensors: After installing door sensors, walk around and trigger them. Make sure the siren is loud enough to be heard by neighbors but doesn’t trigger false alarms every time the wind blows.
📈 Budget-Friendly Roadmap: Where to Start
If you are building a system from scratch and need to manage your cash flow, follow this order. It balances cost against immediate protection:
- The Physical Foundation: 3-inch screws in strike plates and rod locks for sliding doors.
- Exterior Lighting: Motion lights for the front and back entries.
- The Entry Point: A video doorbell and a basic door sensor for the main entrance.
- The Perimeter: Window sensors and a local siren.
- The Network: Secure your Wi-Fi and segment your IoT devices.
- Advanced Options: Add professional monitoring or backup power once the basics are covered.
For a deeper dive into the numbers, read how much should you spend on home security. If you are a digital nomad or travel frequently, make sure to check out how to start budgeting your lifestyle and security across different locations.
🏁 Final Thought: Layered beats Flashy
You don’t need a $2,000 system to have a secure home. A few deliberate moves, proper locks, better lighting, and a secured network deliver 90% of the benefit.
The key is Layered Defense. If one layer fails (e.g., they get past the motion light), the next layer (the deadbolt) stops them. If they get past the deadbolt, the next layer ( the siren) scares them off. Security that is simple and reliable is the only security you will actually maintain. Start with the basics today, and expand only when you see a real gap.
Related Reading: