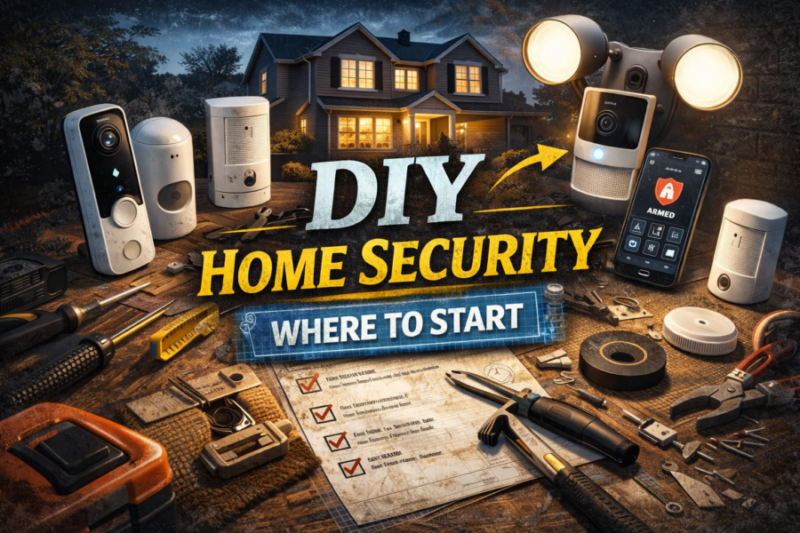
DIY Home Security: Where to Start
You want your home to feel safe, not complicated. That’s the whole idea behind Modern Home Defense: practical, layered security that you can install and maintain yourself. If you’re reading this because you want to stop guessing where to begin, you’re in the right place.
Below I walk you through a clear, step-by-step approach that prioritizes high-impact, low-cost moves first, then shows how to scale up sensibly.
Start With a Quick, Honest Risk Check
Before buying cameras or signing up for monitoring, take a 15–30 minute walkaround of your property, outside and inside. Look for the obvious weak spots: unlocked back doors, a window that’s easy to lift out of its track, overgrown shrubs hiding entry points, dark corners around the house, or packages left on the porch overnight.
Make a short list. This simple inventory tells you where one well-placed investment will have the most effect.
Lock the Easy Wins First
Locks are the foundation. Replace key-in-the-knob locks with a solid deadbolt on every exterior door and make sure the strike plate is secured with long screws that reach the door framing (about 3 inches is the commonly recommended length).
For sliding doors, use a hefty rod or track lock so the door can’t be forced open or lifted out. These aren’t glamorous fixes, but they stop a lot of common, low-effort break-ins.
Light and Visibility Are Surprisingly Powerful
Motion-activated exterior lights and good landscaping go a long way. Illuminating entries, walkways, and potential hiding spots changes the calculus for someone casing a house; it increases the chance they’ll be seen.
If you travel or work long hours, put a few lights and a TV on timers so the home looks occupied; it’s a small trick that’s still effective. Trim bushes around entrances so sightlines remain clear.
Choose Cameras and Alarms That Fit Your Life
If you want cameras, decide what you want from them. Do you need a visible deterrent at the front door (a video doorbell)? Are you trying to watch a driveway or back yard? Or do you want indoor cameras for valuables or to check on deliveries? There are three common approaches:
Local or Self Monitored Systems
You get alerts on your phone and handle events yourself. These are lower-cost and flexible, and many modern DIY brands focus on straightforward setup and clear pricing.
Cloud-Based Systems With Optional Subscriptions
Add features like event history, person detection, and cloud backup for recorded video (handy if a camera is stolen or damaged).
Professional Monitoring
A central service responds to alarms and can contact authorities for you; it costs more but reduces the response workload.
Consumer-focused testing and owner satisfaction data show DIY systems have improved a lot in reliability and support in recent years. Pick a system that matches how much time you’ll spend checking alerts and whether you want stored video off-device.
Don’t Forget Sensors and Basic Alarms
Door and window sensors, glass-break sensors, and a loud local siren are inexpensive and effective. A motion sensor in a main hallway or near a back door covers common entry paths. For renters or people who can’t drill holes, stick-on sensors and smart plugs let you add detection without permanent changes.
Make sure you also have working smoke and carbon monoxide alarms; safety devices and intrusion devices should both be part of your plan.
Lock Down the Network That Runs Your Devices
Smart cameras, sensors, and doorbells all ride on your home network. Securing the network is as important as securing a door. Change default admin passwords on your router and IoT devices; enable WPA3 if your router and devices support it or use WPA2 with AES. Put smart cameras and IoT devices on a separate guest or segmented network away from the computers you use for banking.
Keep firmware updated; many device updates fix security issues. These are standard recommendations from trusted US cybersecurity guidance and are easy to apply.
Think About Power, Storage, and Redundancy
Cameras and sensors are only useful when they’re powered and able to send alerts. If you’re in an area prone to outages, consider a UPS (battery backup) for your router and hub.
For cameras, decide whether local storage (SD card or NVR) or cloud backup better suits your preferences; local storage keeps footage in your control, cloud services protect against theft of the camera, but often require subscriptions.
Privacy and Legal Basics
Recording in public spaces (your front yard, sidewalk) and private spaces (inside someone else’s property) have different legal and privacy implications depending on where you live. Don’t place cameras where people expect privacy (bathrooms, neighbors’ interiors).
If you use cameras that record audio, check local rules about recording consent. When in doubt, keep audio off and post a visible sign if you’re recording areas where guests or delivery people might reasonably appear.
Practical Installation Tips That Save Time
Mount cameras at about 8–10 feet high to keep them out of reach and give a wider field of view. Face doorbell cameras slightly downward so you capture faces and package surfaces clearly. For motion lights, set the sensitivity so pets don’t trigger them every night.
Run a short test after installation: trigger sensors, walk the camera fields of view at day and night, check alerts on your phone, and practice silencing false alarms. Doing this once saves a dozen frustrating support calls later.
Keep Habits as Part of the System
Technology helps, but so do everyday actions. Lock the door even when you’re stepping out briefly. Don’t leave spare keys under planters or mats; the most common easy entry is simply an unlocked door or window. Coordinate with trusted neighbors; a watchful street reduces opportunity.
For deliveries, use delivery instructions that require signatures when practical, or have packages delivered to a secure pick-up point.
Budget Friendly Build Up: A Sensible Roadmap
If you’re starting from nothing, here’s an ordered plan that balances cost, impact, and install complexity:
- Risk check and basic fixes (locks, trim shrubs, check windows).
- Exterior lighting (motion lights, timers).
- Doorbell or front-door camera plus one indoor camera for valuables.
- Door and window sensors and a loud local siren.
- Secure your Wi-Fi and put IoT devices on a segmented network.
- Add cloud backup or professional monitoring once you know how the system behaves and what you actually need.
I’ll admit: when I first put together a system at home, I started with one deadbolt and a front-door camera. That single deadbolt stopped me worrying about whether the kids had locked the house when they left for school.
The camera saved one lost package and, more importantly, gave me confidence. Start small; expand only where you see real gaps.
Maintenance: Treat It Like Your Smoke Detectors
Check batteries or backup power routinely, look for firmware updates once a month, and periodically review device permissions and who has access. Replace older devices that no longer receive security updates. A small maintenance habit keeps your system working the way you intended.
Final Thought: Layered and Intentional Beats Flashy and Expensive
You don’t need a $2,000 system to have a secure home. A few deliberate moves, proper locks, better lighting, a couple of well-placed sensors or cameras, and a secured network, deliver most of the benefit. The key is layering those measures so no single oversight becomes the weakest link.
Security that’s simple to use is the security you’ll actually maintain. Start with the basics, keep it honest, and expand at a pace that fits your budget and lifestyle. You’ll sleep better for it.
Blog
-
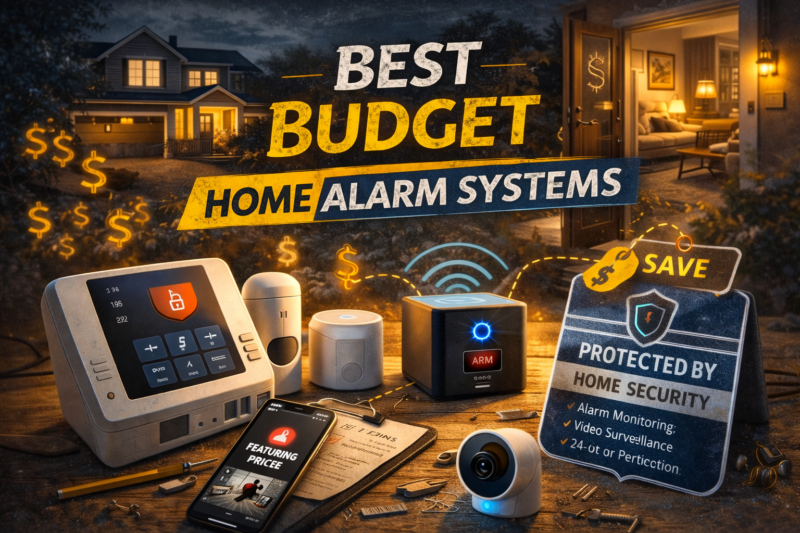
Best Budget Home Alarm Systems
Budget home alarm systems can provide solid protection without long-term contracts or expensive professional installation.
-
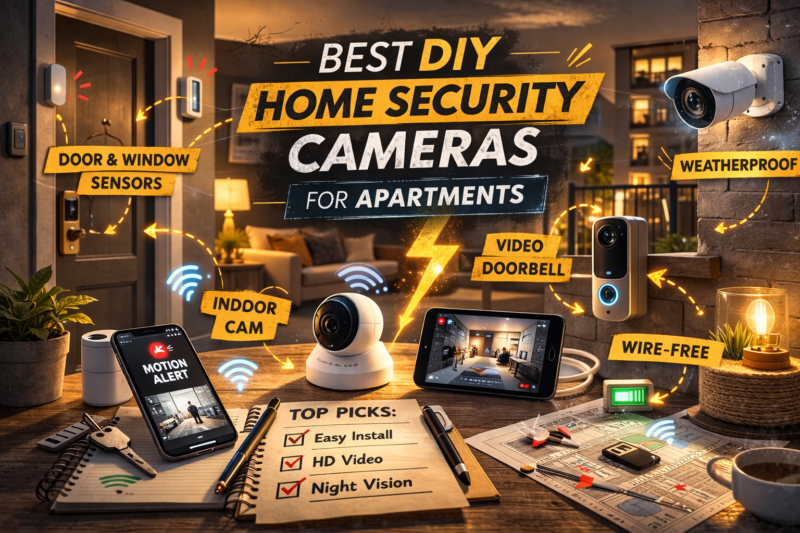
Best DIY Home Security Cameras for Apartments
Apartment security does not require a complicated system.